
I saw the idea for a chalkboard globe on Pinterest, shocking I know, and figured I could easily tackle this project and come out with a quality item for well under the several hundred dollar price tag I found online. Turns out I was wrong.
 Lets break down the budget....
Chalkboard paint: $2.19 (already owned from previous project) = $0
White paint: @ $2.00 (already owned from previous project) = $0
Globe: $5.00 (purchased by momma at a thrift store, thus free to me) =$0
Oil Rubbed Bronze spray paint: $7.88 (already owned from previous project) = $0
Time: $400.00 (estimated 10 hours at $40 per hour, my time is very valuable) = $400.00
Total cost of the project = $400.00
Lets get to the how to's....
First I painted a line around all the continents as well as any islands that I deemed big enough to count (turns out I did not think Hawaii was big enough to count and thus does not exist in chalkboard globe world...oops!). I didn't worry too much about perfection here, I just wanted to have a line to generally go by after I covered the globe in chalkboard paint.
 Next I put down three coats of chalkboard paint, I tended to paint closely, and at times over the white line. The really fantastic camera phone photo below is after the 2nd coat.
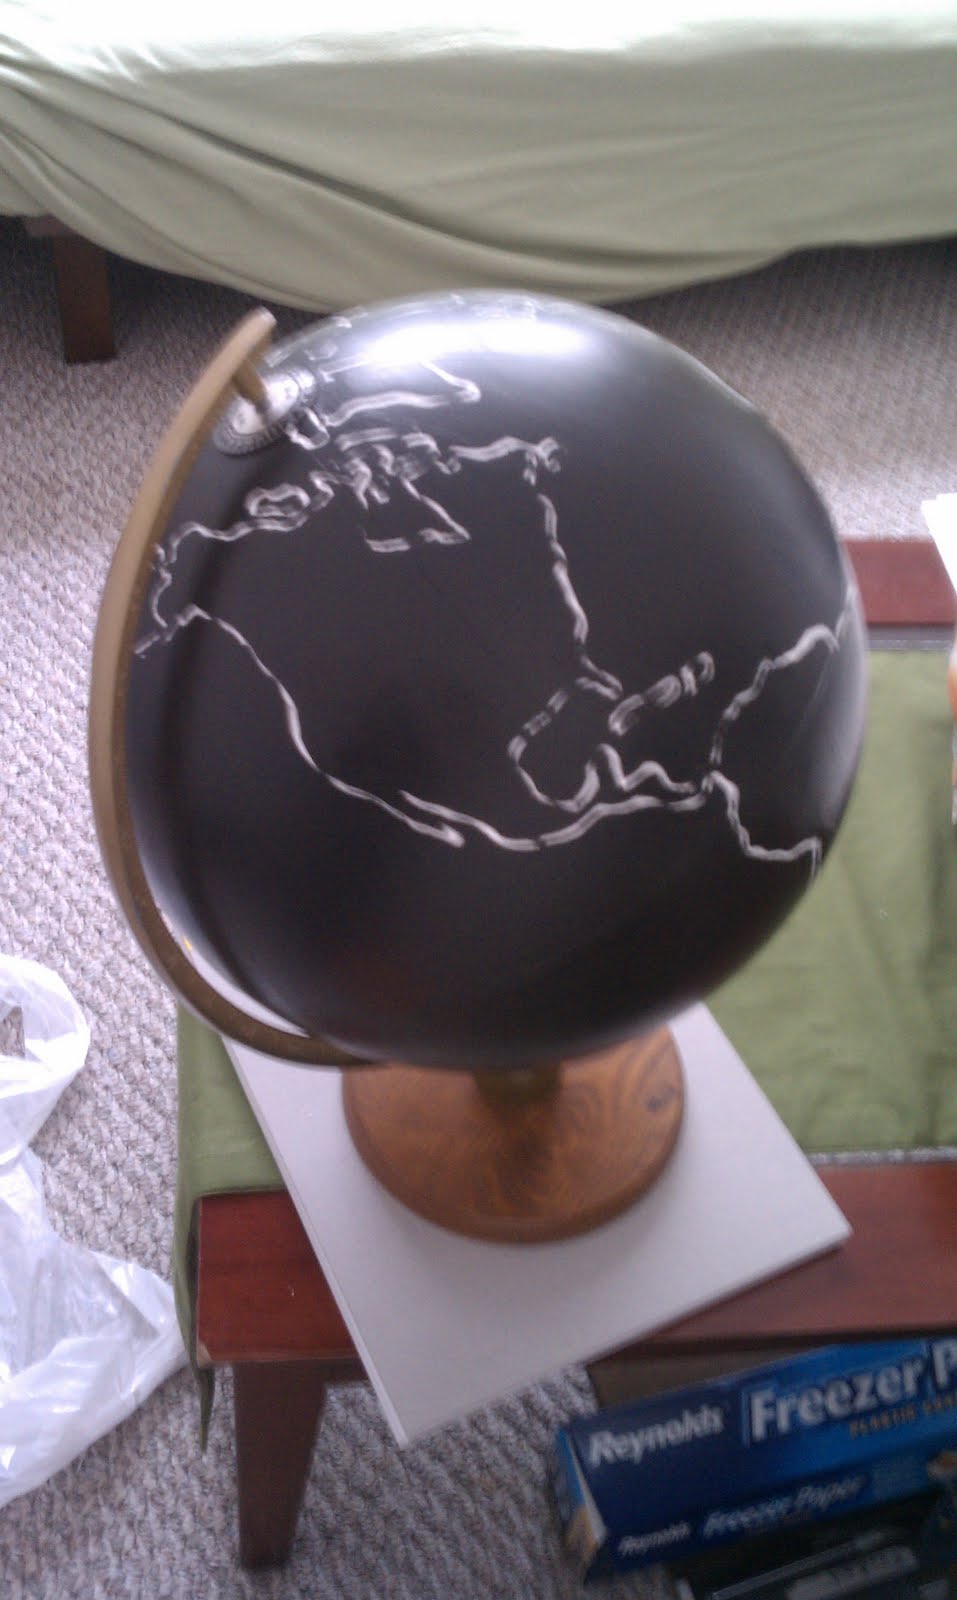 Next I retraced the continents with white paint. Obviously the most tedious part of the project. About halfway through this portion I developed claw like qualities to my hand. It was in a word, unpleasant.
 Final step was to paint the base and the axis. For this I went with Rustoleum Oil Rubbed Bronze Spray Paint, mainly because I love it and while the standard goldish axis color does give it an older/antiquey feel I thought the ORB gave it a monochromatic and cleaner look....and ultimately looked more like something which would be valued at $400 (winky face emoticon).
Guess there is nothing left to say but....tada!


this looks awesome! totally worth your time, i LOVE it!
ReplyDeleteIt looks fabulous. Totally worth the time I would say. I haven't been brave enough to paint mine yet but maybe I will have to go ahead and do it because I love the look.
ReplyDeleteLovely! Is the chalkboard paint a spray or applied by brush? Just wondering how you were able to maintain the outlines of the countries...that seems like the biggest challenge with a project like this. Well done!
ReplyDeleteHere is the Chalkboard paint I used, applied by a brush: http://goo.gl/MerZI . It was what I already had on hand. I've read of people using spray chalkboard paint which would be much easier but I think it would be hard to not cover up your initial continent outlines to go back and retrace. But maybe you can freehand better than me and don't need an outline!
DeleteFor the white out lines of the continents I used a white paint marker. With the initial tracing I didn't worry about perfection because I still had to put down the chalkboard paint. Then went back and retraced the white lines with the white paint pen.
I feel like I'm missing something important here. Why apply the chalkboard paint if you're planning to paint over it? Does it retain its chalkboard qualities even under a coat of paint?
ReplyDeleteThe entire globe is painted in several coats of chalkboard paint. Only the white lines are regular paint. I didn't have much issue using chalk on the globe with the white outlines present.
DeleteWait so did you paint the whole globe gold or just the base and axis?
ReplyDeleteThe globe was painted with chalkboard paint and the countries were outlined with a white paint pen. The base and axis were spray painted with Rustoleum's Oil Rubbed Bronze Spray Paint.
DeleteThis comment has been removed by the author.
ReplyDelete