Apparently October is the official birthday month of my friend/family circle. Though I'm not typically one to exaggerate, I may be a little guilty here. Alas 5 birthdays and 1 anniversary, certainly seems like a lot to take on in one single month. Don't worry, I'll power through. The first of the 5 has come and gone and because mom always said homemade gifts were best I started this project early hoping to have it done early...ah the best laid plans. Turns out starting this project two weeks out was a great idea, but lets start from the jump.
I saw the idea for a chalkboard globe on
Pinterest, shocking I know, and figured I could easily tackle this project and come out with a quality item for well under the several hundred dollar price tag I found online. Turns out I was wrong.

Lets break down the budget....
Chalkboard paint: $2.19 (already owned from previous project) = $0
White paint: @ $2.00 (already owned from previous project) = $0
Globe: $5.00 (purchased by momma at a thrift store, thus free to me) =$0
Oil Rubbed Bronze spray paint: $7.88 (already owned from previous project) = $0
Time: $400.00 (estimated 10 hours at $40 per hour, my time is very valuable) = $400.00
Total cost of the project = $400.00
Lets get to the how to's....
First I painted a line around all the continents as well as any islands that I deemed big enough to count (turns out I did not think Hawaii was big enough to count and thus does not exist in chalkboard globe world...oops!). I didn't worry too much about perfection here, I just wanted to have a line to generally go by after I covered the globe in chalkboard paint.

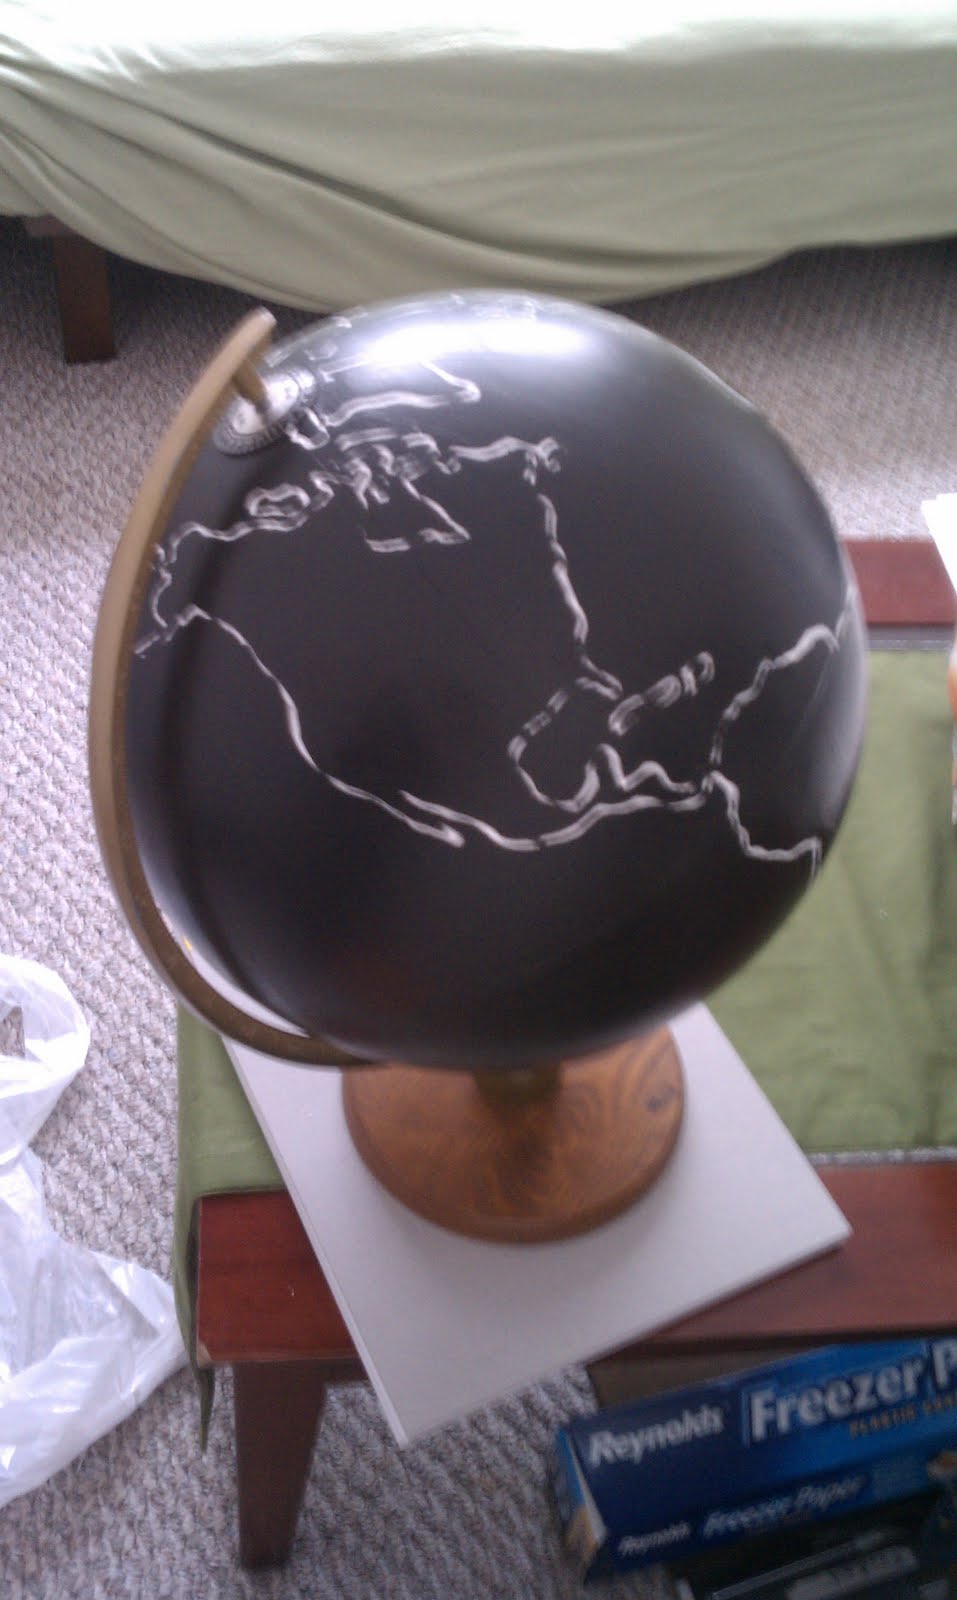
Next I put down three coats of chalkboard paint, I tended to paint closely, and at times over the white line. The really fantastic camera phone photo below is after the 2nd coat.

Next I retraced the continents with white paint. Obviously the most tedious part of the project. About halfway through this portion I developed claw like qualities to my hand. It was in a word, unpleasant.

Final step was to paint the base and the axis. For this I went with Rustoleum Oil Rubbed Bronze Spray Paint, mainly because I love it and while the standard goldish axis color does give it an older/antiquey feel I thought the ORB gave it a monochromatic and cleaner look....and ultimately looked more like something which would be valued at $400 (winky face emoticon).
Guess there is nothing left to say but....tada!